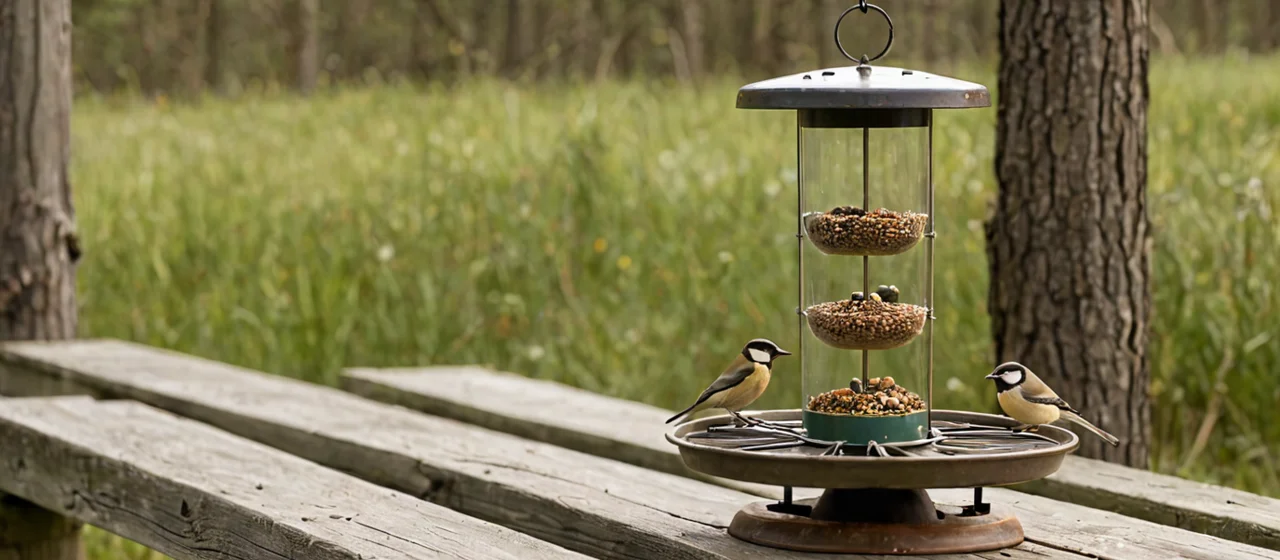
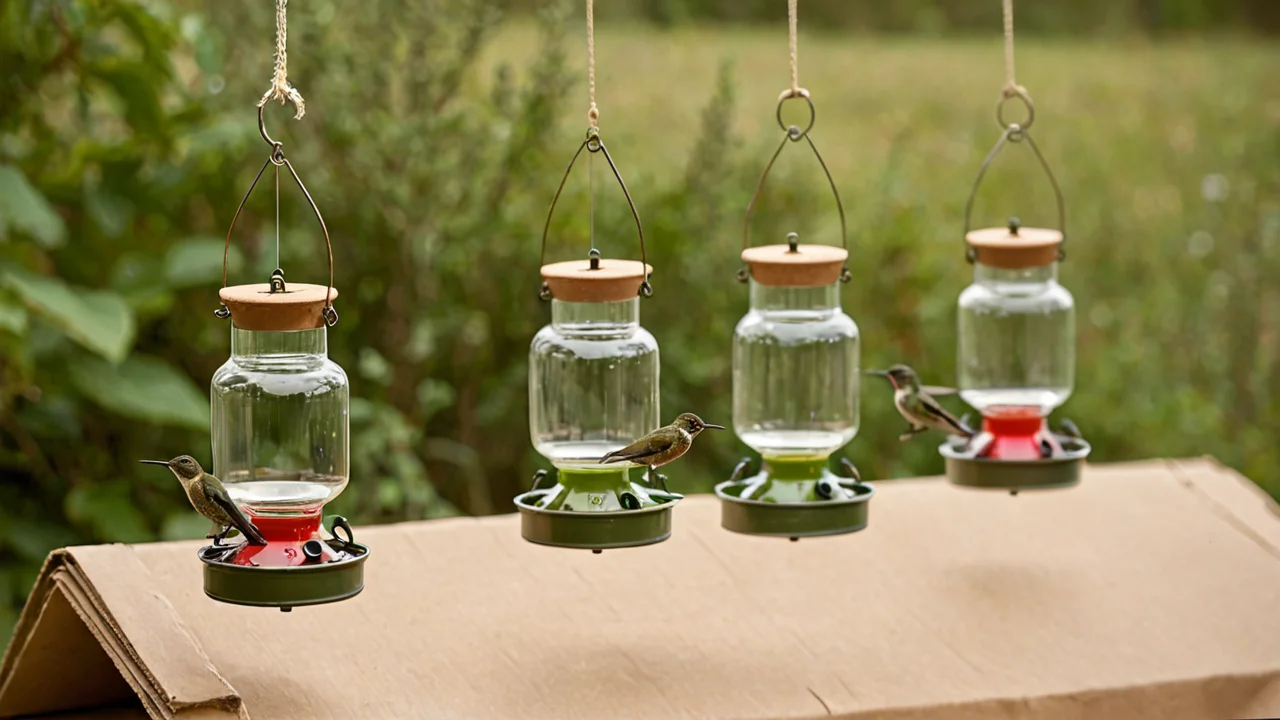
Feeder setup comes down to four decisions made in a fixed order: what feeder to hang, where to hang it, what to put in it, and how you'll keep it clean. Get the order right and the rest is maintenance. Get it wrong — a cheap feeder in the wrong place, or sugar solution left to ferment in July — and birds will find it, use it briefly, and stop coming back. The single most common failure isn't the feeder itself. It's nectar left standing too long.
Choose the feeder by the cleaning job it creates, not by how it looks
Buy the feeder you can take apart and scrub. That's the whole buying decision, and everything else is secondary.
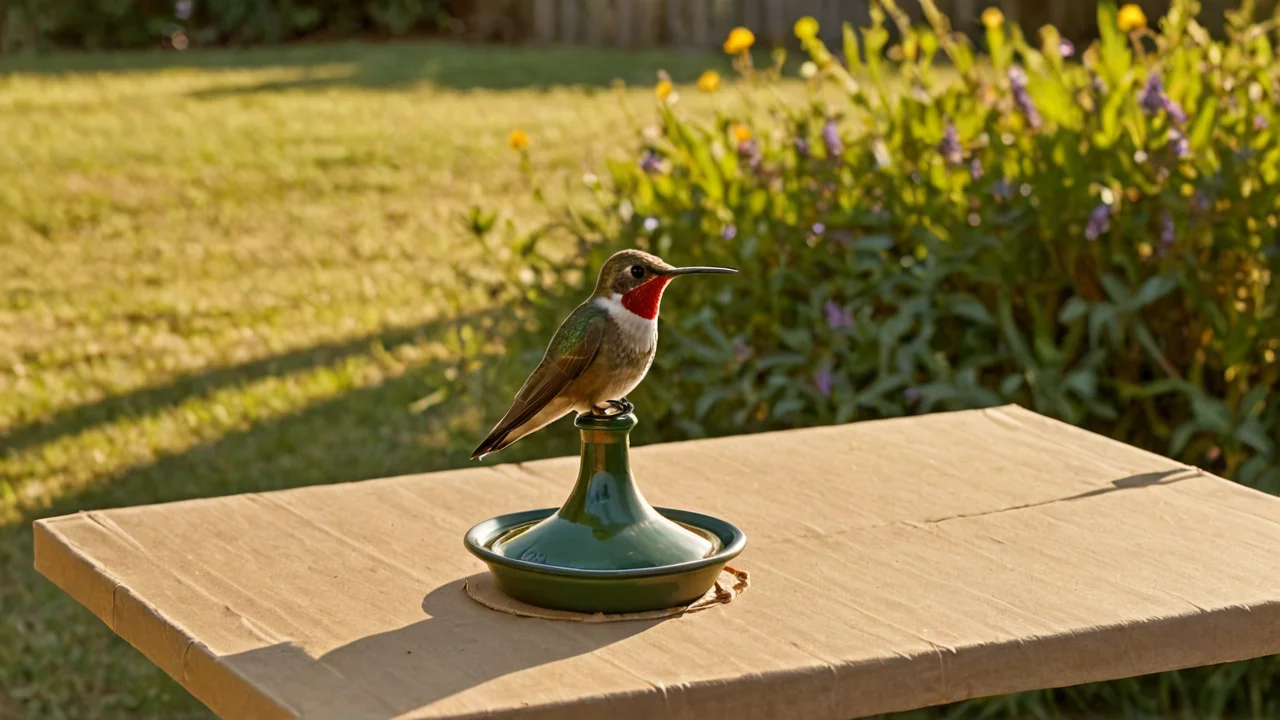
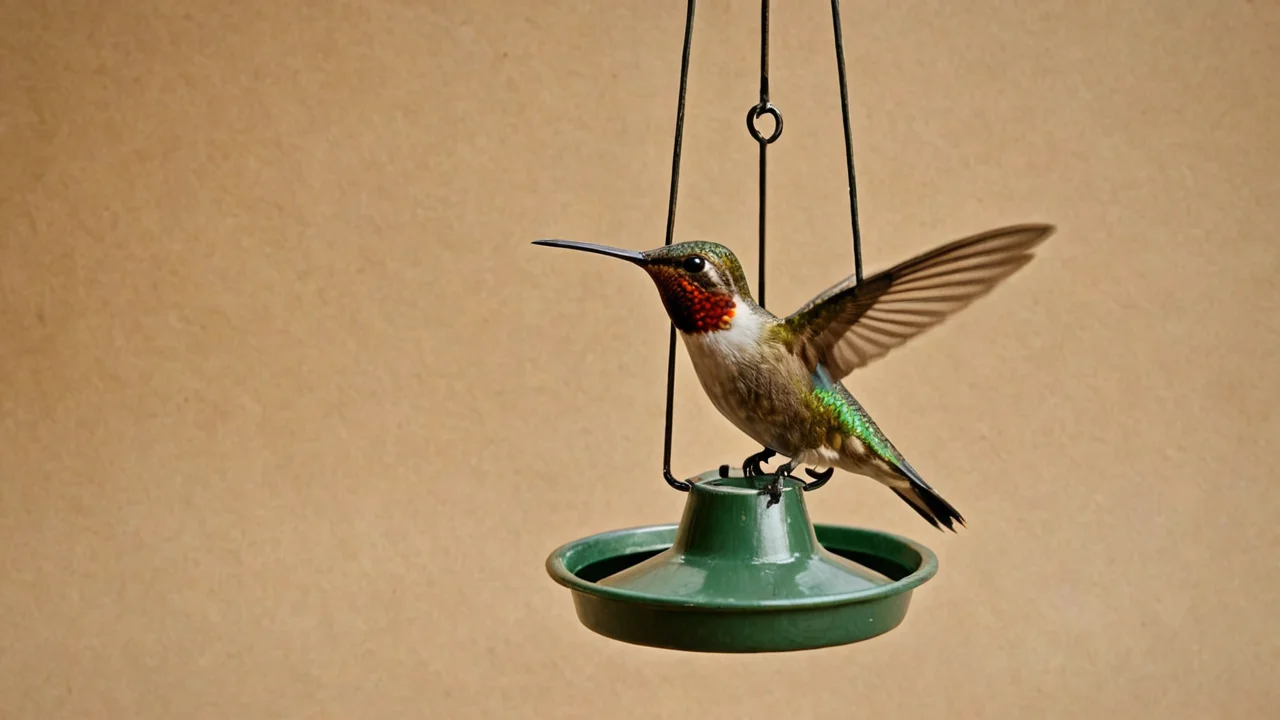
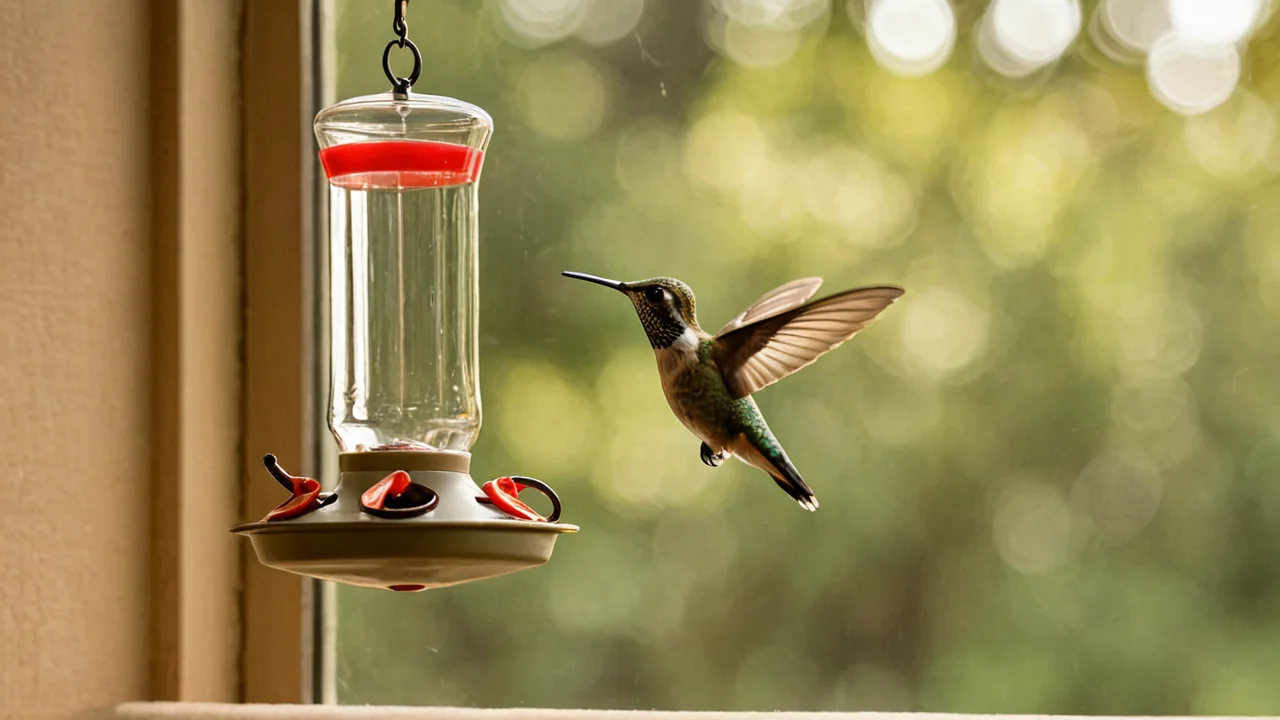
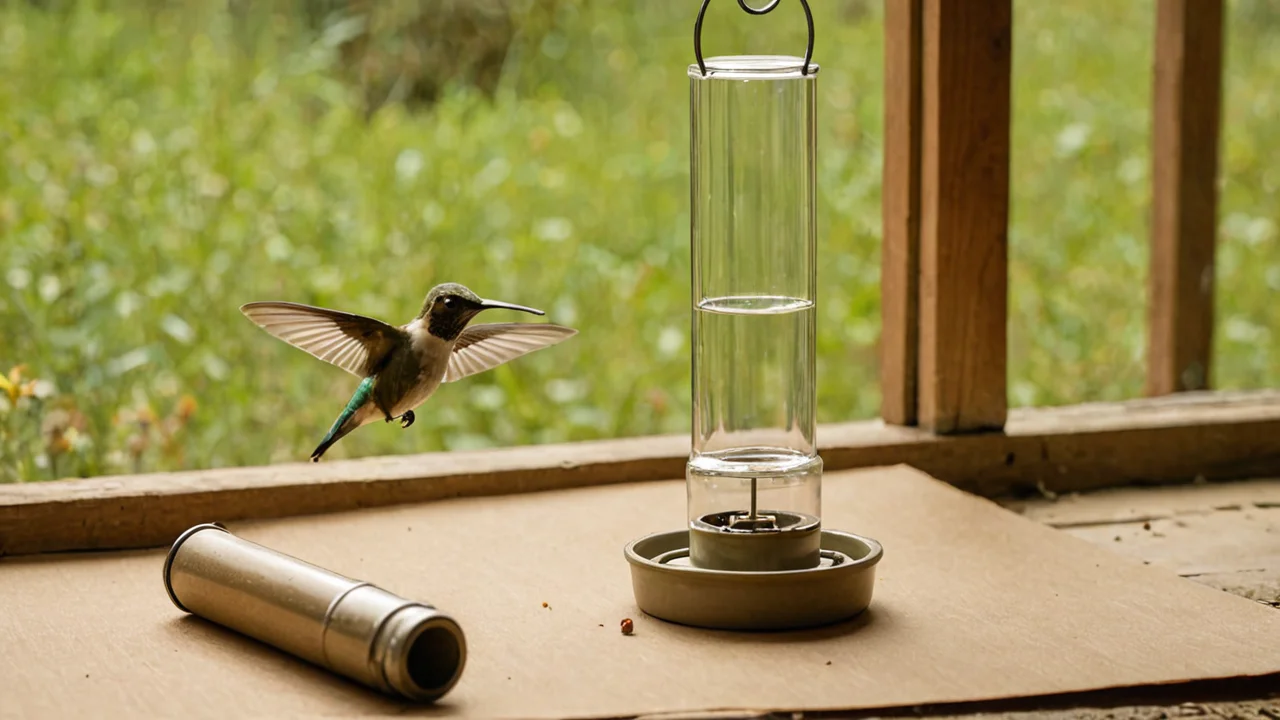
Feeders split into a few practical types. Gravity-fed vertical saucers and tubes hang from a hook or pole and hold a reservoir above a feeding port; the nectar drains down as birds drink. Horizontal or "bar-style" feeders present ports along a flat surface, which mimics how hummingbirds hover and feed and tends to draw more birds per perch. Suction-cup window feeders stick directly to glass and put birds inches from the room. Dish or saucer feeders hold a shallow pool of nectar with a lid over it — the easiest of all to clean because there are few internal channels for mold to colonize.
What goes wrong: molded seams, narrow necks, and reservoirs with a built-in bee guard that can't be removed. Nectar climbs into those seams as a thin film, and a film of sugar water in warm air is a culture dish. You'll notice it as black speckling along a seam that doesn't rinse away, or a sour smell when you open the lid. If a feeder's parts can't go into a sink of hot soapy water individually, leave it on the shelf.
The trade-off is real. Elaborate feeders with lots of decorative glass and small ports look better in a garden and cost more, and they are the ones you'll dread cleaning — which means you'll clean them less often. A plain saucer feeder is uglier and easier to keep. Choose the ugly one. Capacity matters too, but in the opposite direction from what most people assume: a large reservoir feels efficient, yet a big volume of nectar sitting in the sun goes bad before the birds can drink it down. Smaller feeders that empty fast are easier to keep fresh.
Also decide early whether you're hanging from a shepherd's hook, a pole system with a baffle, or a window mount. Poles cost more and take an afternoon to set up, but they let you move the feeder away from windows and fences where cats wait. Window mounts are cheap and give close views, but they concentrate traffic against glass and require you to keep the glass marked or the feeder close enough that a startled bird can't build speed.
Place the feeder where birds can see it coming and predators can't
Hang feeders within a few feet of cover — a shrub, a tree limb, a trellis — but not inside it. Hummingbirds want a perch to retreat to between visits and a clear approach lane.
The geometry that works: feeder in the open, cover a short flight away, and no perch for a cat within pouncing distance of the feeding port. Birds feeding at a window feeder with a bush right behind the glass are safe from hawks; a feeder in the middle of an open lawn is a hawk's dining table. If you have a resident Cooper's hawk, expect the feeder to go quiet for stretches, then resume. That's normal.
Sun exposure is the other variable. Morning sun dries a feeder and keeps birds coming early; all-day direct sun on a glass reservoir heats the nectar and accelerates spoilage. If you have a choice, a spot with morning light and afternoon shade is the best of both. A feeder in full afternoon sun in a Southern summer will ferment faster than one in shade, which shortens your cleaning interval whether you like it or not.
Height matters less than people think, but it does two things: it puts the feeder out of reach of deer and ground predators, and it puts it at or slightly above eye level for you, which makes it easier to inspect for mold and easier to notice when it's empty. Hanging height of roughly five to six feet is conventional for that reason. Window feeders are the exception — they go where the window is.
Where this approach fails: if you're in bear country, no pole height will save you. Take feeders in at night during bear season, or don't hang them at all. A bear that learns a feeder is a food source will return until the feeder is gone, and the damage to the feeder and the yard is not worth the birds.
Mix nectar at the standard ratio and stop adding anything else
Use 1 part refined white sugar to 4 parts water — for example, 1 cup sugar with 4 cups water. Nothing else belongs in the feeder.
That ratio, the standard 4:1 recipe, is the one to use. It roughly approximates the sucrose concentration of natural flower nectar, and it balances energy supply against a viscosity that moves through a feeder's ports without clogging. Mix it with hot water so the sugar dissolves fully, then let it cool before filling. Undissolved sugar settles and feeds bacteria; hot nectar poured into a cool reservoir condenses on the lid and drips.
Do not use honey, and do not use red dye. Honey at feeder strength ferments readily and carries a risk of a mold-derived toxin that harms birds; red dye is unnecessary and its long-term effects on hummingbirds aren't established. The feeder's own red plastic does the attracting. Unrefined sugars, turbinado, and raw sugar carry minerals and molasses residue that spoil faster and offer no benefit the birds need.
Mix only what you'll use within the cleaning interval — roughly what your feeder holds for a few days. A big pitcher of extra nectar in the fridge sounds efficient, but it's a fermentation clock you're not watching, and old mix in a jar is no better than old mix in a feeder.
The honest cost here: mixing your own takes a couple of minutes and a pot, versus opening a jug of pre-made nectar. Pre-made costs more per feeding and you're paying for water; making it yourself costs less and takes less time than rinsing the feeder will. If you can't commit to the cleaning schedule, the ratio doesn't matter — spoiled 4:1 nectar is just as bad for birds as spoiled anything else.
Set the cleaning interval by temperature, not by how the feeder looks
Clean and refill at least twice per week in hot weather — ideally every other day. In cooler spring and fall weather, the maximum interval between complete cleanings is once per week.
Those are the working numbers. In summer, treat a hot feeder as a two-day object: empty it, wash it, refill it, every other day. In cooler weather you can stretch to a weekly full clean. "Complete cleaning" means disassembled, washed with hot soapy water and a bottle brush, rinsed, and refilled with fresh nectar — not topped off. Topping off a half-empty feeder is the most common way people undo a good setup: you're adding fresh sugar water to fermenting sugar water, and the whole batch turns sooner.
What goes wrong and how you notice it: the nectar turns cloudy, or you see black specks that aren't seeds, or the feeder smells sour or yeasty when you open it. Any of those means dump it, don't top it off. In really hot weather you may find the nectar has darkened or gone ropey within a day or two of filling — that's a sign the feeder is in too much sun or you're mixing a bigger batch than you can use.
Clean the feeder more often than you think you need to during a heat wave, and don't rely on visual inspection as your only trigger. Fermentation starts before it's obvious. A feeder that looks clear can still be growing bacteria on the port surfaces where beaks and insects touch.
The trade-off is honest and it's the reason many people quit: every-other-day cleaning in summer is a real chore, and a feeder you resent is a feeder you skip. Two feeders rotated on alternate days cuts the perceived burden — one is always clean and dry while the other hangs. If you can't keep the schedule, hang fewer feeders rather than let one go stale. This is also the reason a small, simple saucer beats a large decorative one: the cleaning job stays short.
Where the rule bends: in genuinely cool weather with a feeder in shade, weekly is fine and you'll see no spoilage. In full sun in the middle of summer, every-other-day is not a maximum — it's a floor. Use your nose and eyes as a backstop, but don't wait for them.
Manage insects, ants, and the feeder's own hardware before they become a problem
Ants are solved with a moat or a baffle, not with a different nectar recipe. Bees and wasps are mostly solved by feeder design and port placement.
An ant moat — a small cup of water hung above the feeder on the same hook — stops the crawl line. Keep it filled; a dry moat is a bridge. Some feeders build the moat in. If ants are already at the ports, the feeder is likely dripping, and a dripping feeder usually means it's been filled too full, the lid isn't seated, or the nectar is warm and expanding. Fix the seal before you blame the ants.
Bees and wasps come to feeders with wide, shallow ports and to any feeder that leaks. Bee guards — the small mesh or slotted inserts over the port — keep honeybees off while letting hummingbirds feed. A feeder with a slightly recessed port and a tight seal gets fewer wasps. Don't try to discourage bees by weakening the nectar; birds need the energy, and diluted nectar just means they feed more often and the feeder empties faster.
Hardware failures to watch: a feeder hung from a single thin wire will swing in wind and slosh nectar out the ports, which attracts insects and empties the feeder. A feeder with a cracked reservoir will drip steadily; you'll find a damp ring on the ground beneath it. Replace cracked plastic rather than trying to seal it — food-safe repair is a losing battle.
The trade-off: baffles and moats add hardware and cleaning steps of their own. The moat needs rinsing, or it becomes a mosquito nursery. The bee guard needs scrubbing, or it clogs. These accessories are worth it, but they add to the same every-other-day routine — which is another argument for one well-chosen feeder rather than several complicated ones.
Decide how much you'll actually maintain, and size the setup to match
The right feeder setup is the one you'll clean on schedule. Everything else — placement, nectar ratio, insect control — depends on that commitment being real.
Work backwards from the maintenance. If you can reliably do a full clean every other day through summer, hang a couple of feeders in good spots and expect steady traffic. If your schedule is tighter, hang a single small saucer feeder where you'll see it every morning, and accept fewer birds. If you travel, take feeders down before you go rather than leave nectar to spoil; birds will find other sources and come back when you return.
Build the routine around the temperature, not the calendar. Cool weather means weekly; hot weather means at least twice per week, ideally every other day. Mix fresh 4:1 nectar in small batches. Keep a bottle brush and a spare feeder so the cleaning job is never a reason to skip a day. Watch for the sour smell, the cloudy nectar, and the black specks — they're the signals that your interval is too long for your conditions.
What this costs you: a small amount of money for a simple feeder and sugar, and a recurring ten-minute job several times a week in summer. What it buys: a feeder that stays a reliable food source, birds that return, and no mold spreading from your yard to theirs. The people who lose interest in feeding hummingbirds almost always lose it because the cleaning got ahead of them. Size the setup so it never does.