
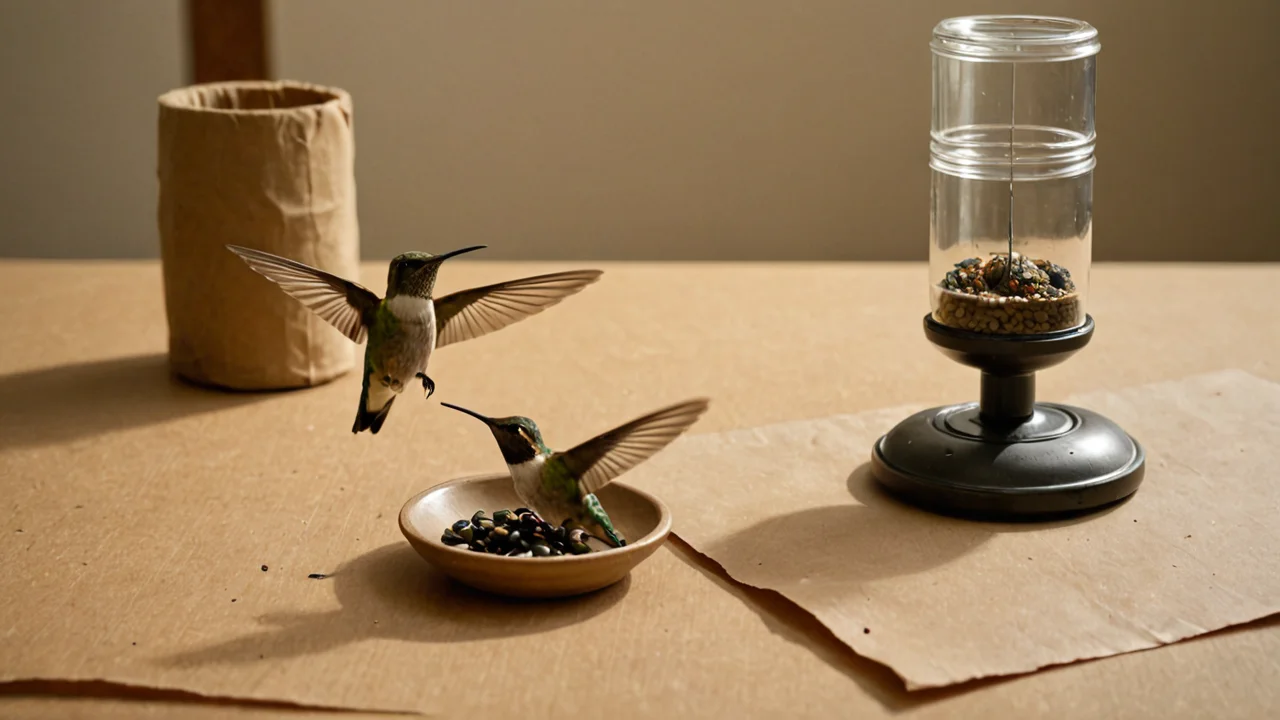
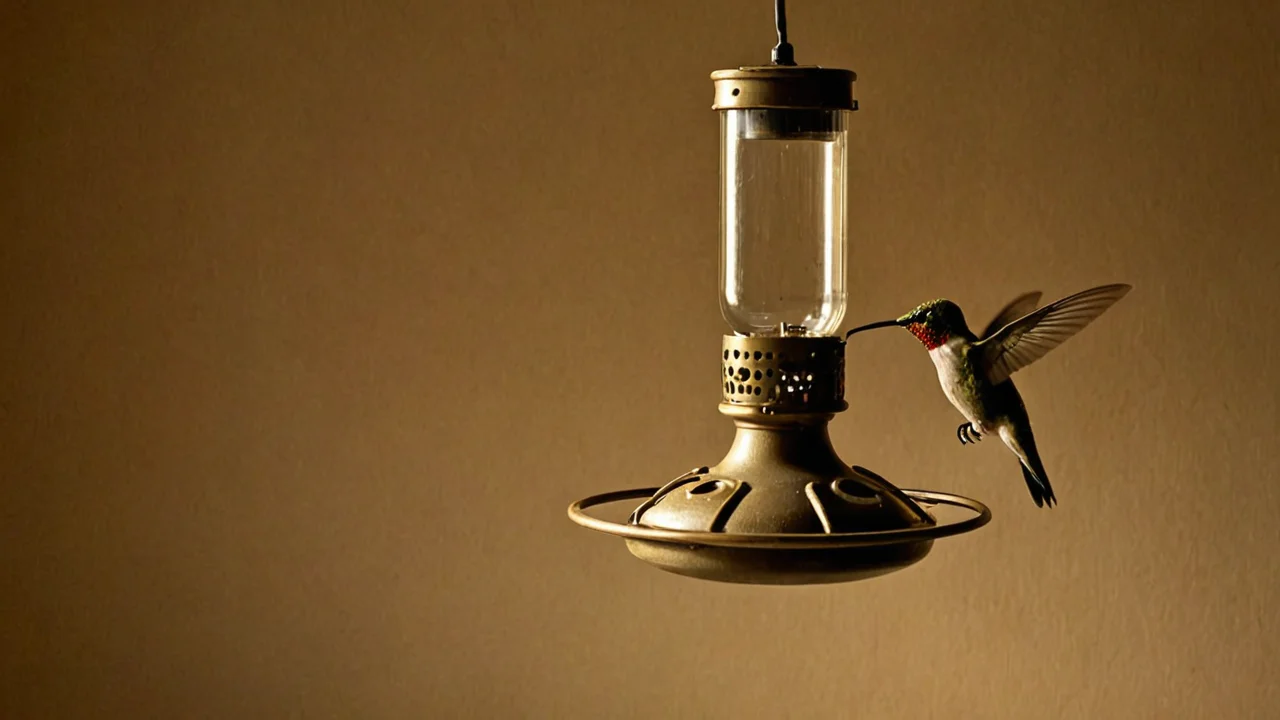
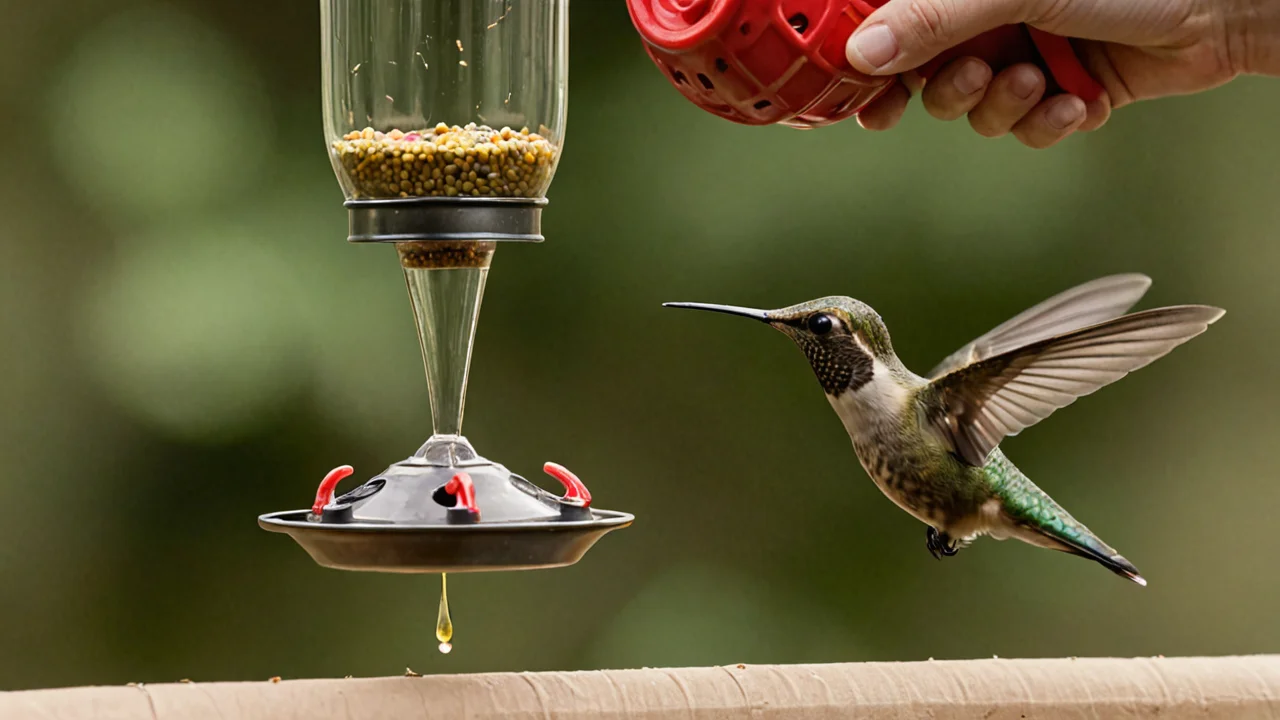
Mix one part refined white sugar into four parts water — one cup of sugar to four cups of water — and change the feeder at least twice a week in summer, ideally every other day, and once a week in cool spring and fall weather. That is the whole of hummingbird feeding care in one sentence: a plain sucrose solution at roughly the concentration of flower nectar, kept cold enough and fresh enough that nothing grows in it. Everything else — which feeder, where it hangs, how you clean it, when you take it down — is logistics built around those two numbers.
The 4:1 ratio and why nothing else belongs in the bottle
Use one part refined white sugar to four parts water, by volume, dissolved in water hot enough to make the crystals disappear and then cooled before it goes out. That ratio is the standard, and it is standard because it approximates the sucrose concentration of the nectar hummingbirds evolved to drink — an energy source thin enough to move through the bird quickly rather than sitting in the crop like syrup.
Refined white sugar is the right choice specifically because it is close to pure sucrose. The alternatives people reach for are mostly worse. Honey carries spores and a different sugar profile, and it ferments and grows in the feeder faster than plain syrup. Raw and turbod sugars bring iron and other minerals along with the sucrose; in a feeder that gets topped up and rarely emptied, those trace minerals accumulate. Red dye is unnecessary — the birds find the feeder by the color of the plastic, not the color of the liquid — and it adds a compound the bird has no reason to ingest. Commercial “nectar” powders cost several times what a bag of sugar does and often contain dyes and preservatives you cannot audit.
The ratio is also a viscosity decision, not just a sweetness one. Stronger syrup is not a favor to the birds. A mix that is too concentrated draws water out of the bird rather than delivering it, and in heat it thickens further as water evaporates, so a feeder that started at 4:1 drifts stronger over a hot afternoon. Make it at 4:1 and discard what is left rather than topping off a half-empty feeder with fresh syrup; the old liquid is already fermenting and diluting it with new does not reset the clock.
The place this goes wrong most often is in the batch itself. People boil the sugar solution for ten minutes out of hygiene instinct, which drives the concentration up through evaporation, then pour it in without measuring again. Heat the water, stir until the sugar is dissolved, take it off the burner, cool it, and store the surplus in the refrigerator in a covered jar. Cold syrup also buys you time in the feeder on a hot day, because it starts the clock from a lower temperature.
Cleaning frequency by season and temperature
In summer, empty, wash, and refill at least twice a week — every other day is the target. In cooler spring and fall weather, once a week is the outside limit between complete cleanings. Those are maximums, not schedules, and the real driver is temperature at the feeder, not the calendar.
Fermentation is a function of heat and time. A sugar solution in a clear plastic reservoir in direct July sun is a culture medium; visible cloudiness, a sour smell, black mold at the ports, or bubbles rising in the liquid all mean the batch is finished and the feeder needs to come down now, not at the end of the week. Every other day is the general refill-and-clean interval that keeps mold from getting a foothold, and in a genuine heat wave it is the number to hold even if the feeder is only half empty. Dumping good syrup feels wasteful. Dumping it is cheaper than a bird with a fungal infection.
Washing means more than a rinse. Take the feeder apart — reservoir, base, ports, any ant moat — and scrub the parts that contact the liquid with a bottle brush and hot soapy water, paying attention to the seams and the feeding ports where residue collects out of sight. Rinse thoroughly, because soap film taints the next batch and the birds will reject a feeder that smells of detergent. A diluted bleach soak is a reasonable periodic step for stubborn black mold in the crevices, but it demands a long rinse and full drying before refilling. Dishwasher-safe feeders are worth the extra money for exactly this reason.
The cost of the summer schedule is real: two or three cleanings a week, per feeder, for the length of the season. That is the argument for one well-placed feeder you actually maintain over four you resent. A neglected feeder does not merely fail to attract birds; it concentrates them at a contaminated food source, which is worse than no feeder at all.
Placement: shade, sightlines, and the afternoon sun problem
Hang feeders where they get shade for the hottest part of the day. A feeder in full afternoon sun can spoil well inside the every-other-day window, and the syrup inside a clear reservoir visibly darkens and clouds as it goes. East-facing eaves, the north side of a house, or under the canopy of a deciduous tree all work; the tree has the added advantage of giving arriving birds a perch to stage from before they commit to the feeder.
Put the feeder within a few feet of windows you actually look out of, but not so close that a bird leaving the feeder at speed cannot clear the glass — a feeder mounted directly on a window is safer than one a short flight away, because birds leaving it are already slow and the glass is immediately in front of them. Window strikes are the main cost of an otherwise ideal placement, and decals or a screen help only if they break up the reflection across the whole pane rather than decorating one corner.
Height matters less than clearance. Somewhere between eye level and a bit above head height keeps the feeder easy to reach for cleaning and out of reach of cats, and it lets you see the port from inside the house. The trade-off is that a feeder hung low and close to cover also sits in the still, humid air where mold does best. Air movement is a cleaning ally; a breezy spot dries the ports between visits.
Ants, bees, and the moat
An ant moat — a small cup of water between the hanger and the feeder — is the single most effective ant control, and it needs to be refilled as often as the feeder is cleaned because it evaporates. Ants find the feeder by following a trail, so the moat has to interrupt the only path; a feeder hung from a branch that touches a wall or a fence gives them a bypass and the moat does nothing.
Bees and wasps are a different problem with a different fix. The usual cause is a leaking port or a feeder with a wide, shallow feeding well that lets insects reach the liquid. A feeder with a tight seal and ports sized for a hummingbird's tongue keeps most of them out, and keeping the exterior dry — no drips running down the reservoir — removes the scent trail. Moving the feeder a few feet when bees become persistent resets the site for the birds, who will find it again within a day, while the bees have to re-scout. Never use petroleum jelly or oil on the hanger or ports as a barrier; it fouls feathers, and a hummingbird that gets it on its wings is in serious trouble.
Yellow is a wasp attractant and red is not especially attractive to bees, which is part of why feeders are built the way they are. If you are choosing between two models, favor the one with fewer and smaller external yellow parts. The limit of all this: in a heavy wasp year, no feeder design wins outright, and taking the feeder down for a few days until the scouts give up is a legitimate move rather than a defeat.
When to take the feeder down, and the migration question
Leave feeders up through the last of the southbound migration and take them down once you have gone a couple of weeks without a visitor — typically well into fall in most of the country. There is no date that applies everywhere, and the old worry that a late feeder tempts hummingbirds to delay migration is not a reason to pull it early. Migration is driven by day length and instinct, not by a food source, and a feeder on the way south is a refueling stop, not a trap.
In spring, the argument runs the other way: put the feeder out early, ahead of the first arrivals, because the earliest birds are arriving into a landscape with little bloom and a reliable feeder is worth a great deal to them. The cost of an early feeder is that you are maintaining syrup for an empty feeder for a week or two, changing it on the cool-weather schedule so it does not sit and spoil. That is a small price.
The hard stop is heat and neglect together. If you are going away in July and cannot get someone to change the feeder every other day, take it down before you leave. A feeder left to ferment for a week in summer is a hazard, and the birds will find food elsewhere. Winter feeding is a separate question with its own answer depending on where you live — in the milder parts of the country, a feeder kept thawed and changed on the cool-weather schedule will hold a few over-wintering birds, but it is not necessary for the population and it is a commitment, not a gesture.
Buying and maintaining a feeder you will actually keep clean
Buy the feeder you can disassemble in under a minute with no tools. That single criterion predicts whether the feeder gets cleaned on schedule better than any other feature, and it matters more than capacity, style, or how many ports it has. A large reservoir looks efficient and is a trap: it holds more syrup than a single feeder can get through before it spoils in hot weather, so you end up pouring out most of a batch every time. A smaller feeder that empties in two or three days fits the summer cleaning interval instead of fighting it.
Look for a wide mouth you can get a brush into, a base that separates from the reservoir, ports that come out or open for scrubbing, and no narrow internal channels where mold can hide from the brush. Cheap feeders fail on exactly these points — glued bases, sealed reservoirs, ports molded into a single piece — and the failure shows up as black spotting in a seam you cannot reach, which means the feeder is done. Glass or UV-resistant plastic both work; clear plastic that has gone cloudy and scratched is harder to clean and should be replaced.
Keep a second feeder as a spare, not to hang both at once but so that one can be soaking or drying while the other is out. The rotation is what makes the every-other-day schedule survivable in a busy week. The trade-off is more hardware to store and more parts to lose, which is why identical spares beat a collection of mismatched ones.
None of this is complicated, and almost all of it comes down to two habits: mix 4:1 and nothing else, and change the feeder on a schedule set by the temperature rather than by how full it looks. The feeder, the placement, and the moat are all in service of making those two habits easy enough to keep through a hot summer.
What actually happens to a feeder left too long
Spoiled nectar turns visibly cloudy and develops a sour, fermented smell before the mold is obvious, and the first sign at the ports is usually a dark ring of residue that a quick rinse won't shift. Black mold in the seams and bubbles rising in the reservoir mean the batch is finished. The danger is concentrated: a contaminated feeder draws birds to one point and keeps them returning, which is worse than leaving the feeder empty. In summer, at least twice a week, ideally every other day; in cooler weather, once a week is the outside limit.
Small batches beat big ones
Mix only what the feeder will drink before the next cleaning. A full reservoir that takes a week to empty guarantees you're pouring out spoiled syrup, and topping off a half-empty feeder doesn't reset the clock — the old liquid is already fermenting. Keep surplus in a covered jar in the refrigerator and discard what the feeder hasn't used. A smaller feeder that empties in two or three days fits the summer schedule instead of fighting it.